The Good. Clean. Fun.™ BLOG
< All Posts
There’s nothing more satisfying than a fresh blowout, but you don’t have to book a salon appointment to achieve shiny, polished tresses. Lockdown life taught us that we can successfully care for our hair without professional assistance, whether it’s half-up, half-down hairstyles, beach waves, or a bombshell blowout.
However, if you’re still a bit wary about how to do a blowout at home, including which products to use and how to manipulate your brush, we put together a step-by-step guide to achieve smooth, voluminous strands easily. Don’t worry — it’s easier than you think!
Gather Your Supplies
Start by setting yourself up in front of a mirror. Next, gather your supplies and organize the area where you’ll be working. Here’s what you’ll need:
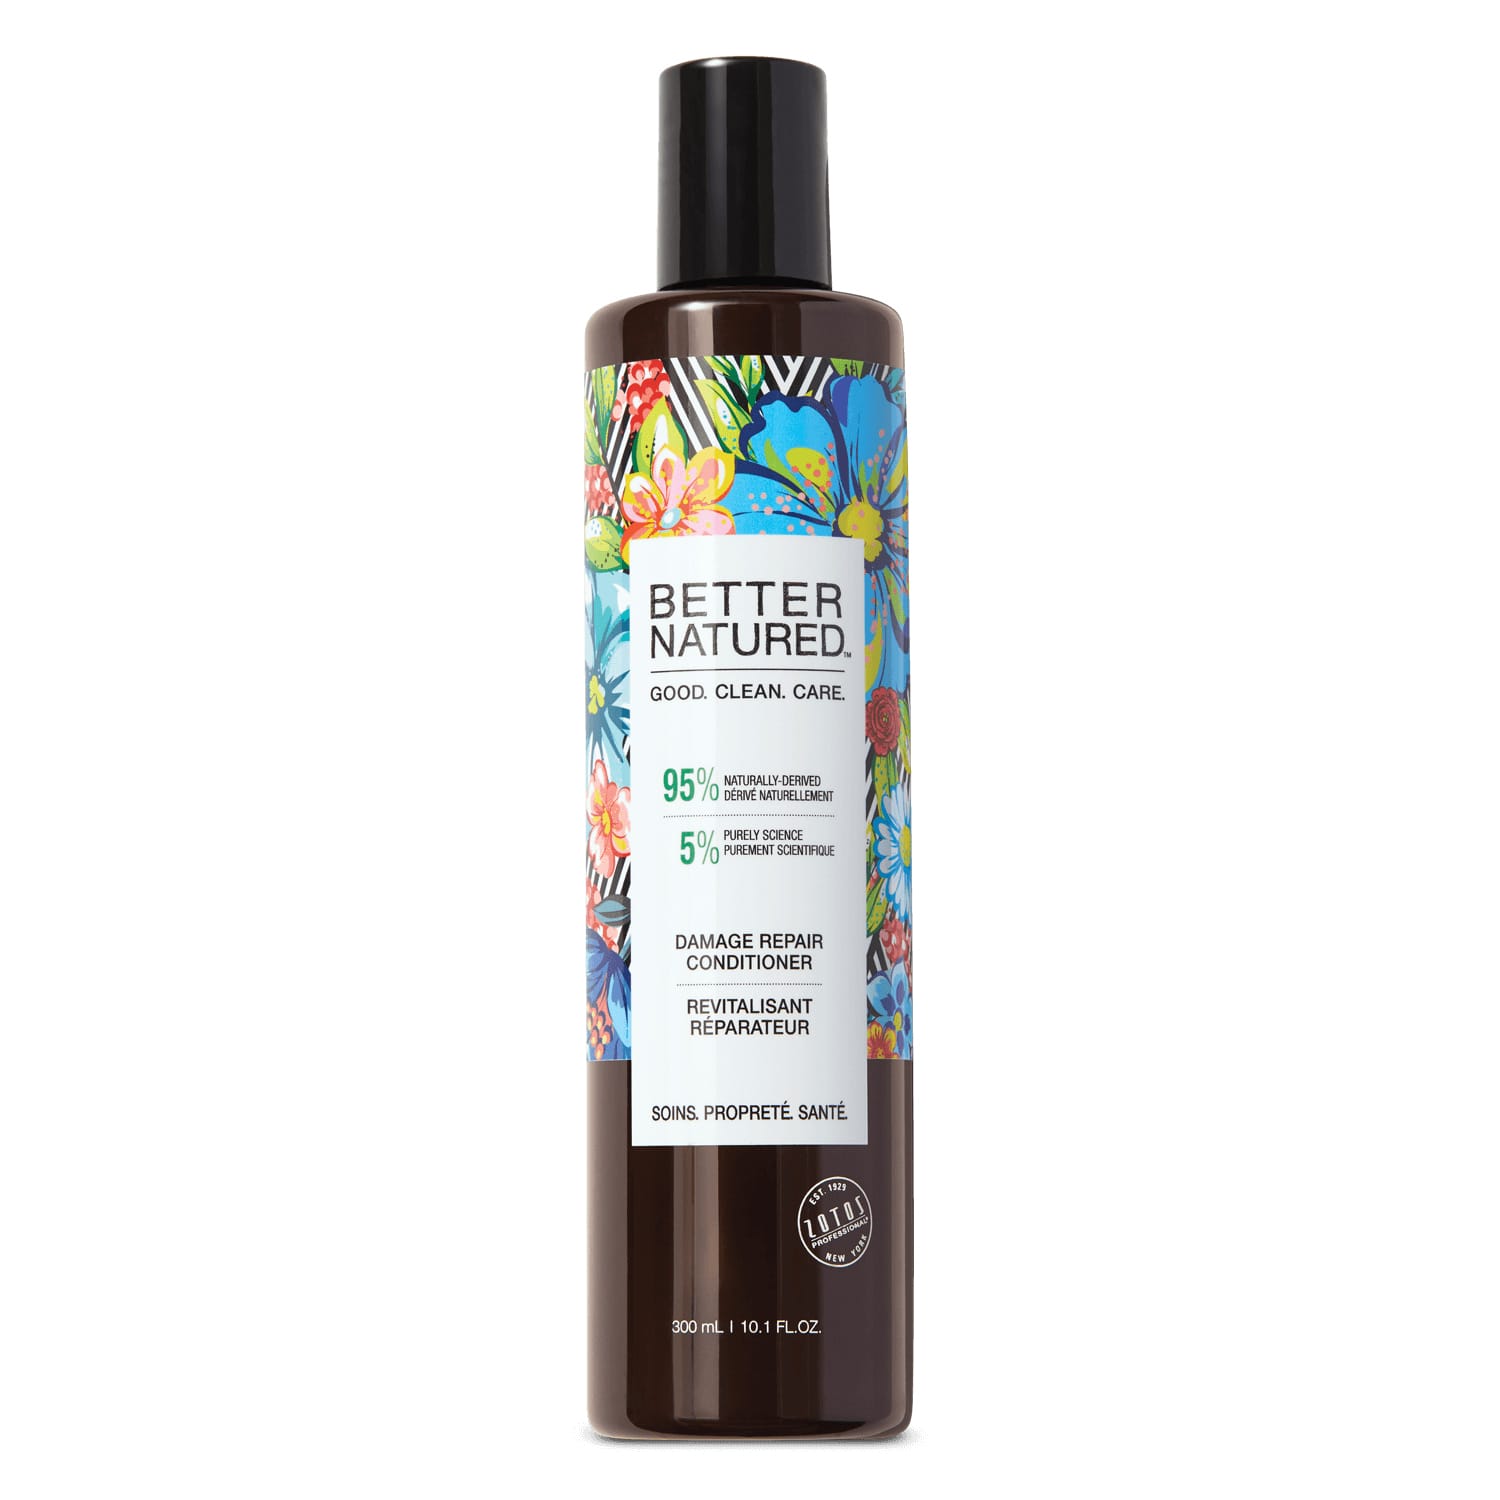
- Shampoo and conditioner (we recommend Better Natured®’s Damage Repair Shampoo and Conditioner)
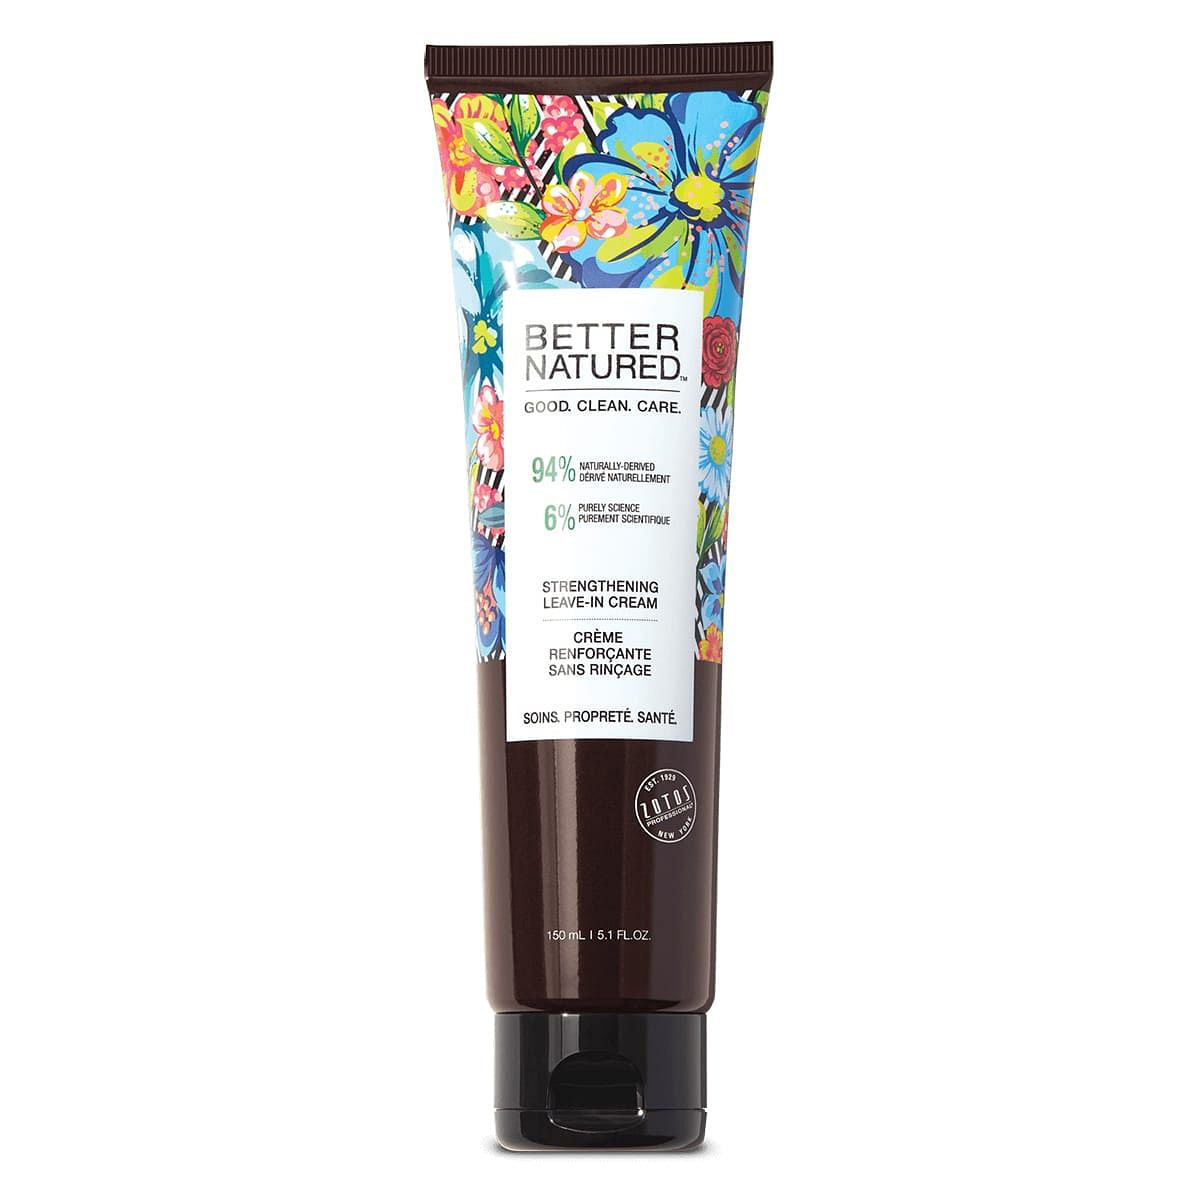
- For some extra TLC, consider adding Better Natured®’s Damage Repair Strengthening Leave-In Cream to damp hair, focusing on the ends.
- A quality blow dryer
- Hair clips for sectioning
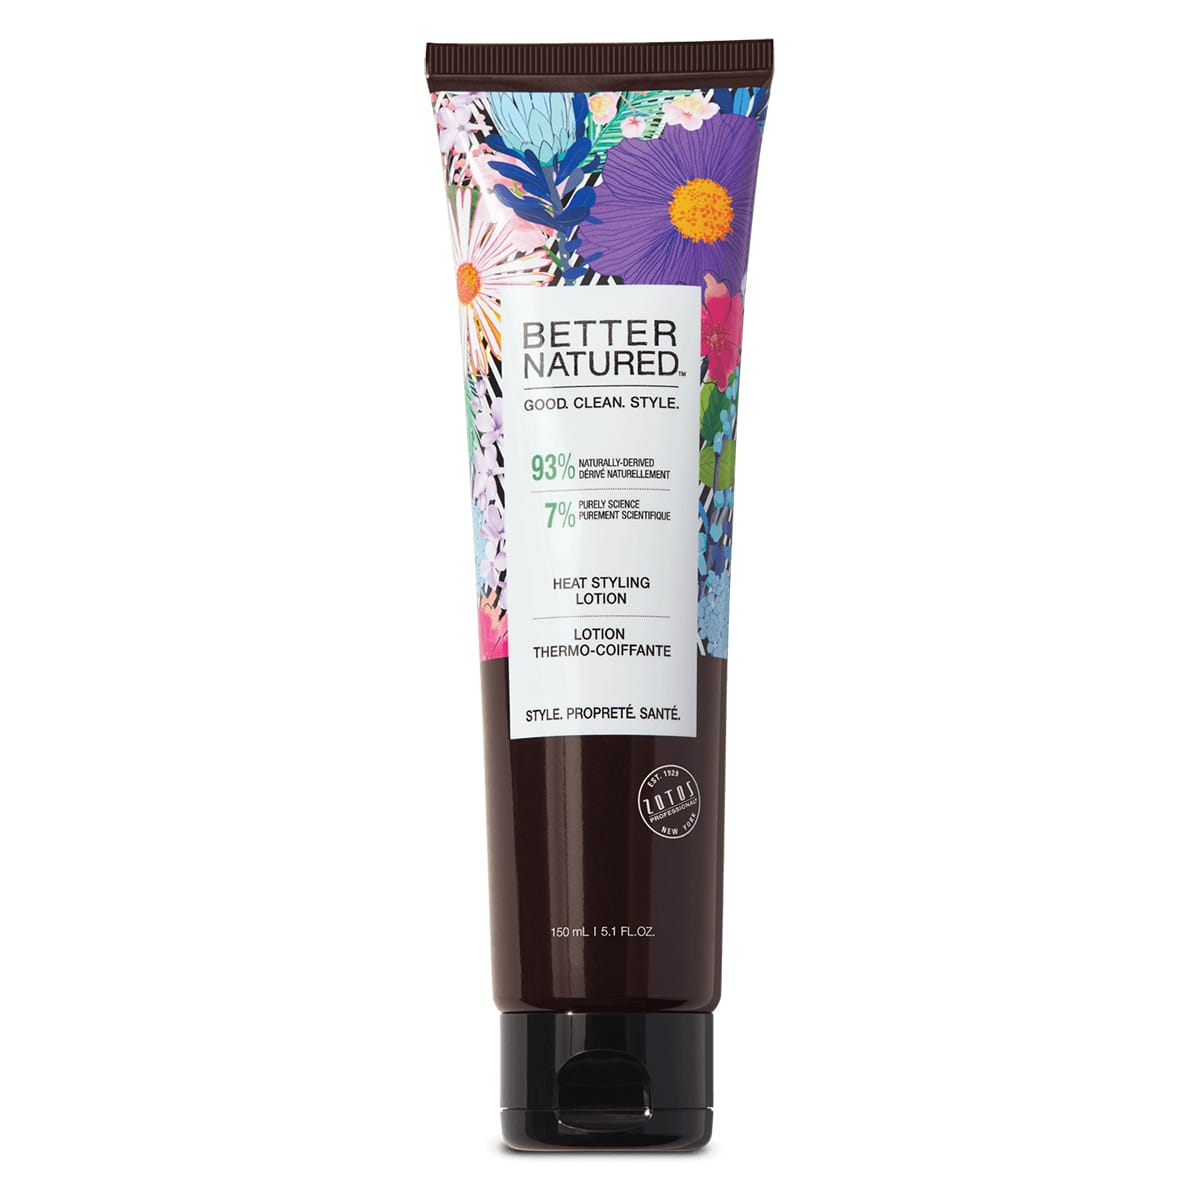
- a product that protects against blow drying damage, such as Better Natured®’s Heat Styling Lotion
- A round or paddle brush, depending on your style goals
How to Do a Blowout in 9 Easy Steps
It might take you a few times to master the technique, so don’t give up if you don’t achieve a flawless blowout right out of the gate.
Step 1: Wash and Condition
Start by washing and conditioning with reparative formulas such as our Damage Repair Shampoo and Conditioner to help strengthen your strands while helping negate damage. If your hair is feeling extra dry, apply a small amount of Better Natured®’s Damage Repair Strengthening Leave-In Cream — especially if you use hot tools regularly. Just ensure it’s applied to damp — not soaking wet — hair for optimal results.
Step 2: Remove Excess Moisture
Reduce blow drying time (and heat damage) by wrapping your hair in a moisture-wicking microfiber towel and air drying your hair before introducing the blow dryer.
Step 3: Detangle Your Tresses
In order to achieve a smooth blowout, make sure to gently brush your hair to get rid of knots and tangles. Use a wet brush or a wide-tooth comb to remove any kinks before styling your strands.

Step 4: Apply a Heat Protectant
Apply Better Natured®'s Heat Styling Lotion to damp hair. This extraordinary prep product safeguards strands against your blow dryer’s blast while providing 96 hours of frizz control. It also helps create a smooth, shapeable, long-lasting blowout*.
*Against combing breakage during heat styling
Step 5: Rough Dry Your Tresses
You’ve already used your microfiber towel, so let your hair air dry for as long as your schedule permits. The key to any great blowout is rough drying it before starting the styling process. Finer strands should be about 80 percent dry, while coarser tresses should be closer to 50 percent.
Step 6: Section Your Hair
The secret to effortless styling is sectioning. Start by parting your hair from ear to ear and create a top and a bottom section. Secure the top and divide the bottom into two to three sections — more if needed. How many you’ll need depends upon hair density, length, and the number of layers you have. Secure each section with a clip.
Step 7: Choose a Style Goal
What type of look are you going for? Straight and sleek or ’90s supermodel? Your choice will dictate the type of brush you use. Don’t overthink it — the larger the brush, the smoother the finish. Also, paddle brushes are better for straighter styles, whereas round brushes are necessary for achieving volume and waves. Look for models with boar or nylon bristles to disperse your hair’s natural oils, which helps prevent frizzies during the blow dry process.
Step 8: Start Blow Drying
Work with one section of hair at a time. You’ll likely need to divide these sections into smaller segments, making them easier to manage. If you’re going for volume, wrap the hair under and around a round brush. Direct the heat from your dryer to the roots. Creating tension with your brush, gradually work your way down the hair and finish it off by rolling the ends under to provide shape and make a slight bend. Complete the same steps until you get through all of your hair.
If you’re going the straight route, position your paddle brush underneath the section of hair close to the root. Slightly twist your wrist outwards to make it easier to create tension. Slowly pull the brush towards the tips while following with your blow dryer, which should be approximately three inches above your strands. Once you reach the tips, slowly pull the brush outwards, increasing tension. This extra step will give the ends a smooth finish. Repeat the process with the remaining sections.
Pro Tips:
- Avoid touching a freshly dried section of hair until it’s completely cool to prevent frizziness and loss of shape.
- Most blow dryers have different heat settings. As a general rule of thumb, thicker hair requires a higher temperature and thinner hair lower.
- If your hair gets frizzy, use the diffuser nozzle attachment, which helps distribute the heat evenly for a smoother, shinier finish.

Step 9: Finish Your Look
Once your hair is completely cool, optional products to finish off your look include:
- A few spritzes of a non-aerosol hairspray with a light to medium hold so hair remains touchable
- A texturizing powder or spray to enhance volume and maintain shape
- Shine spray or a few drops of hair oil to promote shine — just make sure to use a light touch when applying
Tips to Make Your Blow Dry Last
Now that you’ve learned how to do a blowout, one of the best ways to extend the life of your tresses is with our dry shampoo powder. It absorbs excess oils to help maintain volume and leaves no trace of white residue behind. Other tips include:
- Invest in a silk pillowcase
- Sport a terrycloth-lined shower cap when washing up
- Put your hair up in a loose, messy bun when sleeping
- Refresh your roots with a cool blast of your blow dryer — especially after working out
- Give lifeless locks a boost with Velcro rollers
Along with these steps, a successful DIY blowout begins and ends with using the right products. Shop our entire line of vegan hair styling products to achieve a professional-looking blow dry every time.
Explore Our Collection of Hair Styling Products HereImage Sources:
Kzenon/Shutterstock.com
Voyagerix/Shutterstock.com
Log in To comment.